Get your Garage Door Opener DIY Installation with these simplified steps. Do you want to know how to Install your garage door opener? Well, it is not that hard, and it can save you a LOT fo money if you do it yourself. When you buy your opener online, you can hire a Chicago local garage door professional to come install it for you. This can be expensive since this is a service that requires expertise.
We can help by providing simple tips to a successful garage door install. Always check your owners manual for better instructions, since this is pretty general checklist.
The level of difficulty is about a 3 in a 1 to 5 scale.
Tools you will need:
Sturdy Ladder
Impact drill with 7/16, 1/2 drill sockets
1/2 wrench
Screw drivers a philips and a flat head
Wire stripper
Staple gun
Utility knife
Hammer
Bungie cord
You have your new garage door opener, congratulations! Now is time to have some fun installing it. The time that it takes for a DIY is about 2-5 hours depending on the level of skill and the tools you have available for the job.
Instructions will apply to Liftmaster, Chamberlain, Craftsman, Stanley, Reynor, and Sears.
Opener Installation Overview
1- Open the box, unpack your equipment, read through your instructions. (utility knife)
2- Assemble you opener and rail. (1/2 in Socket and 1/2 in wrench) Wrap chain around sprocket and along the rail. Use 1/2 socket to connect rail to opener.
3- Before you take old opener down, take a good look of the parts and how they fit. Look at the safety sensors, wall control, chain, wiring, and ceiling mounts.
Take Down Old Opener
1 disconnect power source, disconnect sensor wires, take pin off from the door end of opener rail. (You might be able to reuse same mount if it fits)
2- Losen opener form ceiling mounts(1/2 socket usually)
3- Carefully bring your opener and rail down to the floor.
Put up new garage door opener
1- Bring your garage door opener up and set on the door end of rail on top of garage door springs.
2- Use your ladder to bring up the opener side. Use The bungie cord to hang from ceiling mount so it can hold the opener.
3- Set pin and ring on door end of rail. Secure opener using 1/2 nuts and bolts included
Set Safety Sensors when having your Garage Door Opener DIY Replacement
Always consider your Garage Door Opener DIY safety to ensure no one get hurt. In this case your safety sensors should be installed in order to program your new opener.
1- Assemble sensors on their mount and set them about 6″ Above the floor onto you garage door tracks.
2- Use a staple gun to run and secure wire onto walls. Make sure to pull the wire before each staple to prevent hanging.
3- Live about a foot extra before you connect wires. Split each wire so you can connect a black with black and white with white from each wires.
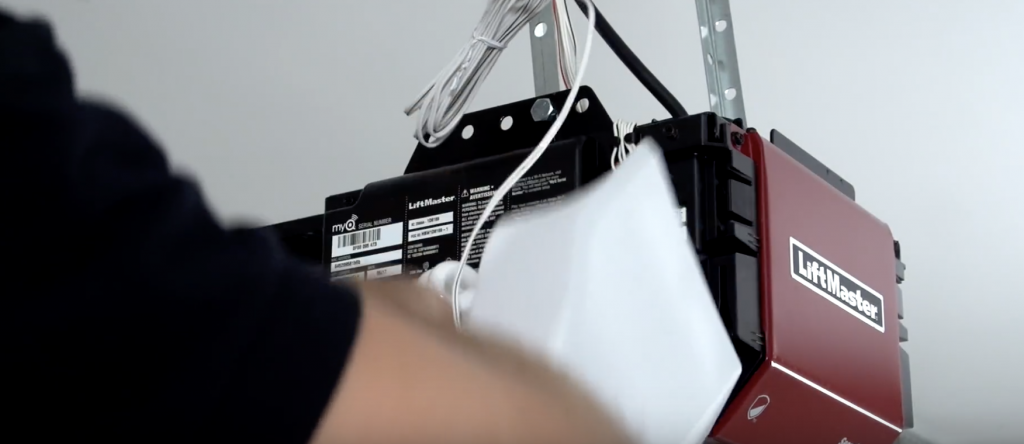
In the back of your opener you have a red, white, white, black spaces for wires. Right end white and black are for sensor wires. The two white go in the white and blacks in the same black. Left red and white are for wall control wires.
Mount wall control
1- Take down old wall switch using a Philip head screw driver.
2- Run wires to the back of operator next to the sensor wiring.
3- Connect wires to opener. Red in red and white in the white place.
Garage Door Opener DIY Installation Last step- Program your travel limits
There are three programming buttons in the back of your opener. Up arrow, down arrow and a middle rectangular button. Start with your garage door down.
1- Press and hold for three seconds the middle rectangle button.
2- Press and hold up arrow until the door reaches the garage header. Once you have at the desire position press the middle button to set up travel limits.
3- Now press and hols down arrow until door reaches floor. Press middle button to set down limit. At this point press up arrow to bring the door up and then down arrow to bring it down and travel limit are set and you are done.
Here is a video we found a Youtube video to give you a visual of the overall installation. Please watch it a couple of times. This will help you plan your Garage Door Opener DIY Installation before you commit. Youtube video by the Home Repair Tutor. Th
Enjoy your new opener. If at any point of the process you get stuck, schedule a local pro in Chicago to finish your installation. Chicago weather is brutal, get a new opener and enjoy the peace.